Which material is best for making a wooden pipe?
If you ask me to name the one material that is the very greatest for hand crafted pipes, there is no question—it’s briar burl. I can tell you, pipes constructed from this substance smoke very differently. That’s why briar is my choice of material for every smoking pipe I make.
It is my experience that the briar burl has three advantages which nothing else can simply replace.
For starters, it’s extremely dense, so your pipe won’t fracture or deform even after years of frequent use.
Second, it has superb heat resistance, meaning it can stand up to the constant heat of burning tobacco without charring or breaking down.
Thirdly, it’s naturally breathable. The small hole structure within the wood fibers allows the moisture and heat to escape slowly, rather than trapping everything within the bowl.
Don’t discount this inherent breathability though, it is really what makes or breaks the smoking comfort of a handcrafted pipe. I have pals who are utterly addicted to briar pipes for this reason.
This breathability does a great job of pulling the moisture and heat created by burning tobacco away, massively decreasing the rough “tongue bite” feeling. It also allows the tobacco to release its flavor at a somewhat lower burning temperature, which provides a smoother, richer, more layered taste—without any of the bitter, burnt edge you get from overheating.
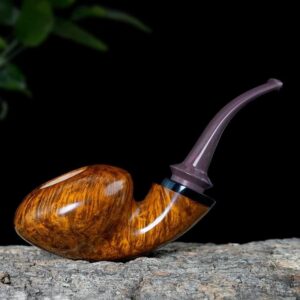
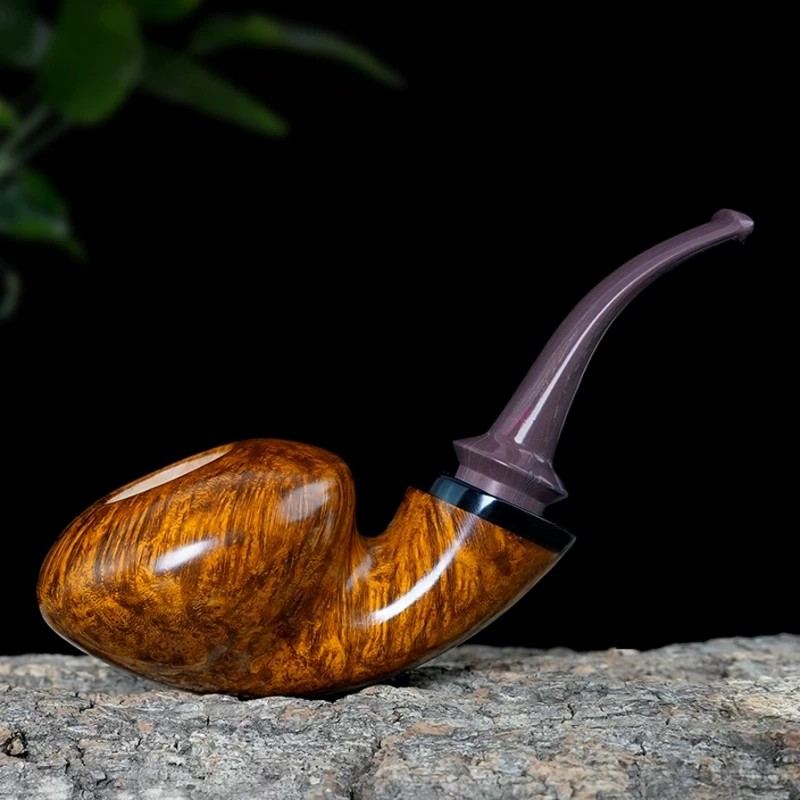
But is it just the perks that have pipe aficionados so enamoured with briar? Of course, it’s much more than that! The grain of each briar burl is unique, and when you polish it, those exquisite grains become visible—such as flame patterns, bird’s-eye patterns, straight grain… This is why, after polishing, you can see the stunning texture of our handcrafted briar pipes.
What tools do I need to make a wooden pipe?
OK, after we choose the material, the choice of tools is also very important to make a wooden pipe. For a dense and intricately grained material like briar burl, I found that having a hand drill, Carving Knife, Needle Files, and sandpaper would make pipe making much easier, and sufficient to guide us through all stages from the rough shape to the basic pipe design.
However, while making the wooden pipe, I suddenly remembered a Dremel electric grinder in the storage room, so on a whim, I ran downstairs and grabbed it, trying to sand out the bowl’s chamber and air passage. The result was… wow, it was a perfect match! The finished product was absolutely flawless!
Next, we can use a knife to refine the outline, especially when outlining the bowl’s curves and the transition to the handle, preserving the natural grain more precisely than machine processing. The file is used to further refine the shape, rounding off any sharp edges left by the knife, making the overall lines smoother.
Of course, if you, like me, prefer to build a separate pipe, then the process is slightly more complex—you need to manufacture the bowl and the stem separately, then join them using mortise and tenon joints. You should know that when I first started making pipes, I never intended to make a one-piece pipe, because the core advantage of a separate design lies in the precise finishing of the airflow channels: when the bowl and stem are machined separately, it’s easier to control the angle and inner diameter of each section of the airflow, ensuring smooth smoke flow without any stickiness or carbon buildup.
Furthermore, the plug-in connection offers another practical advantage—I know many pipe enthusiasts will understand what I mean—namely, the ability to disassemble and replace parts. This is key. Whether the pipe body wears down over time or you want to change the mouthpiece material, you can simply replace the stem without having to remake the entire pipe.
Why is the “airway” or “draft hole” so important?
I’ve been making my own pipes for many years, but if you ask me what’s most important in pipe making, my answer is that almost no one talks about the flue. You see, if we make the flue too narrow, the airflow won’t be enough to maintain a stable burn for the tobacco. Burning becomes choppy and erratic, and the value of the puffing experience is terrible.
A narrow draft hole causes another headache too: condensation. When you smoke, moisture and tar naturally cool down and collect in the shank and stem area (totally normal, don’t worry about that part).
How do I drill the airway in a wooden pipe?
But if you want the pipe we made to have a smooth and perfect smoking feel, we now need to complete the most difficult part of production: first, drill the draft hole that determines the soul at the pipe handle; then, expand the mortise hole (Mortise) at the end to connect the cigarette holder; finally, drill the tobacco chamber (Tobacco Chamber) vertically from the top of the bowl, so that the bottom of the bowl and the air passage perfectly intersect! The Dremel electric grinder is my particular favourite tool. Compared to the conventional hand drill, it is far more delicate. It feels fantastic in the hand and can easily handle high-density briar nodules.
I always mark the full drilling path on the blank before drilling. In order to prevent potential later deviations from curved surfaces, I prefer to drill while the blank has a flat surface without any sanding or shaping. In order to ensure that there are no blind areas, I also make sure the vent fits precisely into the pipe’s bottom.
Don’t be scared if you are concerned about operating errors. You too can be like me. I always outline the full drilling path on the blank before beginning, and I drill straight through the wood while it is still perfectly flat and unshaped! The airway alignment stage is the most important part of the process, so don’t undervalue it. Furthermore, the cigarette holder’s interface needs to match exactly! Not only will air seep out during suction if you unintentionally create a gap, but you will also produce an annoying and piercing whistle.
How to Finish and Break In Your Pipe
The surface treatment portion comes next, which is my absolute favorite! I promise you, never paint your beloved smoking pipe with polyurethane, varnish, or ordinary wood paint! Not only do those chemical coatings seal off the briar’s natural breathing pores, but they will also bubble and release nasty fumes when heated, completely destroying the mellow flavor of your tobacco.
Instead, I strongly recommend using pure Carnauba wax and natural alcohol-based dyes! Alcohol dyes instantly make those lovely flame and bird’s eye grain patterns pop with a 3D effect, while pure Carnauba wax gives the pipe a stunning, natural luster.
Finally, let’s talk about the best “breaking-in” technique used by top-tier pipe masters to protect your new pipe from burning out. You can create a simple, natural protective layer using a mixture of 25% honey and 75% rum or whisky. Just apply a thin coat to the inner wall of the bowl (carefully avoiding the air hole at the bottom) before your first few smokes. It will carbonize under heat, creating the perfect natural shield for your pipe!